Introduction
Concepts
Everything you execute on the DQ0 platform is a run. Runs are grouped into experiments. You decide what to run by navigating your local workspace in the Studi0's file explorer to a folder containing an MLProject file and hit start run or by using the queries page to define and execute SQL runs. Runs typically use data provided by the DQ0 instance. The results of a run (a query result or a trained model or any other result you might want to produce through DQ0) can be inspected in the run details section. Before you can see results of runs on sensitive datasets these results must be approved through the DQ0 approval system.
Installation
First, install the DQ0 CLI program for your platform. The DQ0 cli is available for Linux, Mac OS and Windows. It ships as a pre-built executable. Just copy the CLI file to a location of your choice and include the path in your PATH environment variable.
Setup
When the CLI is used for the first time, the DQ0 data quarantine instance to be used must first be registered. This is done with the following command:
dq0 proxy add --scheme https --hostname [URL] --port [PORT]
Example for https://dq0.io:8000:
dq0 proxy add --hostname dq0.io --port 8000
Ask your DQ0 administrator about the URL and port of your instance.
Register
In order to communicate with the DQ0 instance, you have to log in, i.e. authorize and authenticate.
If you are not yet registered, you can do this directly via the CLI using the following command:
dq0 user register
You will then be asked for a user name (email address) and password.
In the course of this registration, the CLI also creates an SSH key pair (private and public key), which is used to encrypt the communication with DQ0.
Note: All communication with the DQ0 instance is encrypted end-to-end. You can therefore only communicate with the instance from the computer with which you did the registration.
The registration request must first be confirmed by your DQ0 administrator. Only then can you log in with your chosen credentials.
Start
To start the DQ0 studi0 web application run the following CLI command:
dq0 server start
The Studi0 web application is served on your browser on http://localhost:9000
Login
If your session expired (which usually lasts 30 days) or if you haven't logged in before, the first page you see will be the login page:
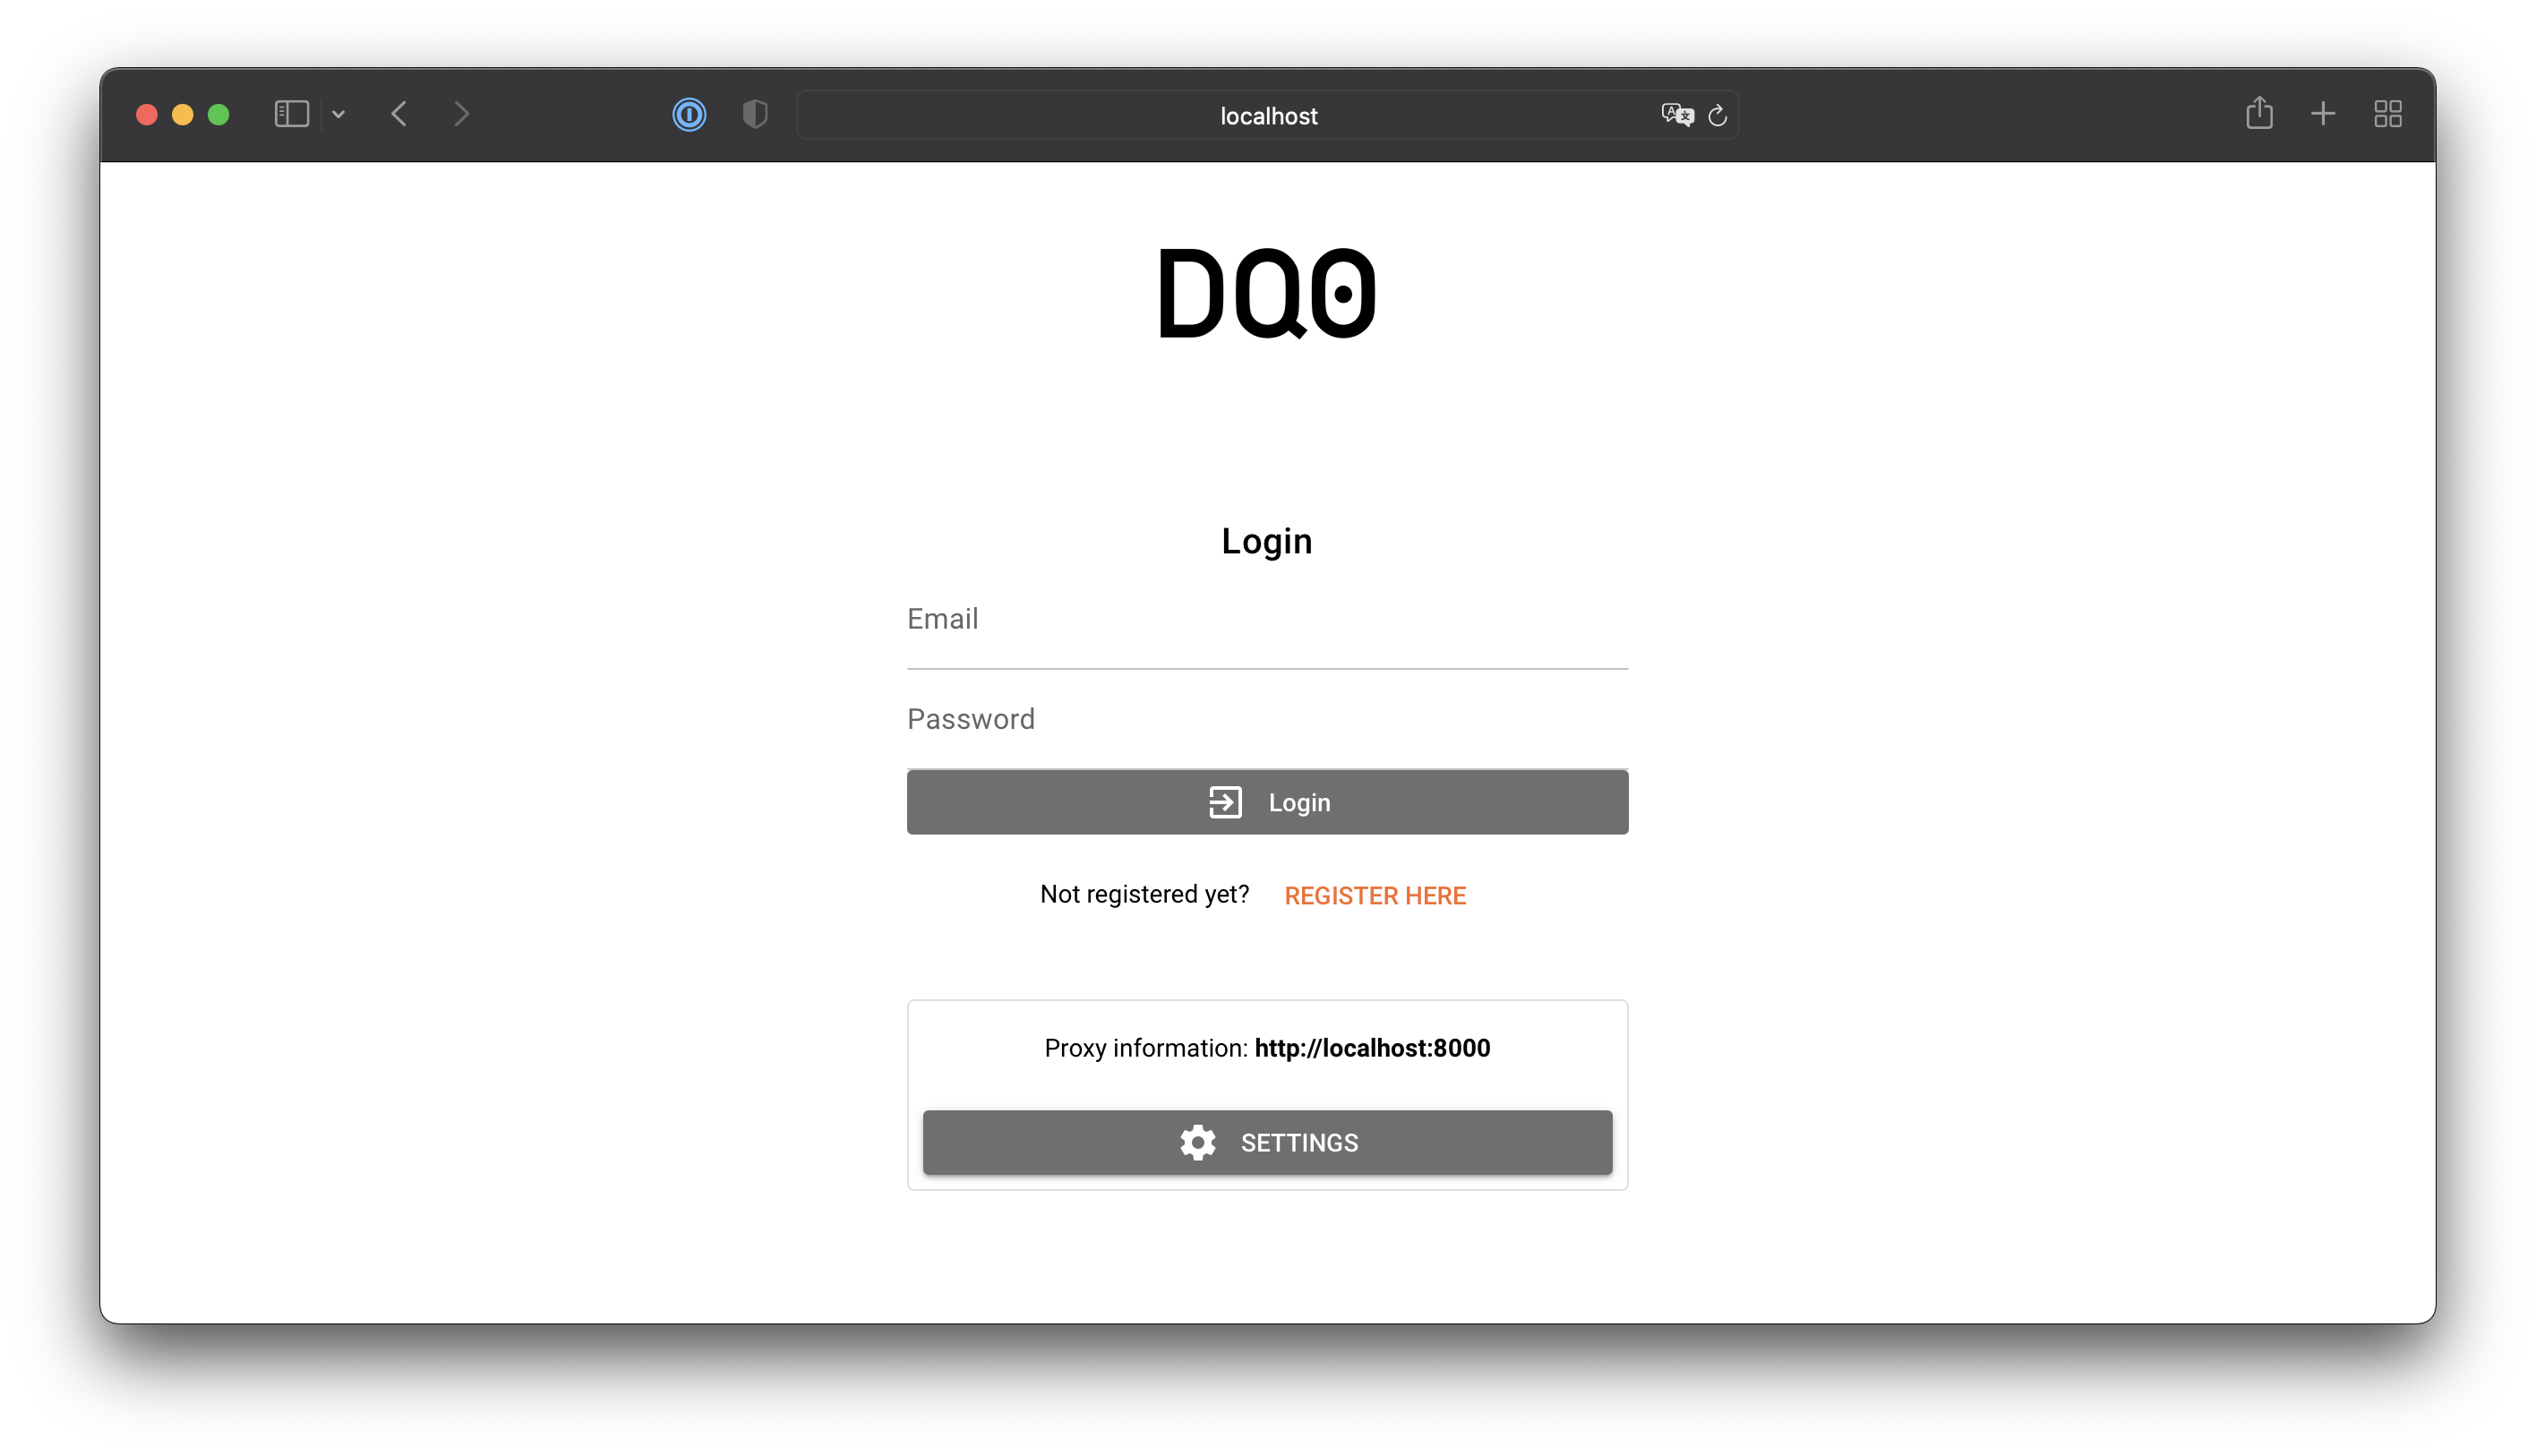
Enter your credentials and hit return or click on the login button to enter the application. As DQ0's client platform communication is end-to-end encrypted through private-public keys the email and password login only provides an additional level of authentication.
Studi0
The DQ0 Studi0 web application comes with an online help system that can be accessed anytime from to top bar:
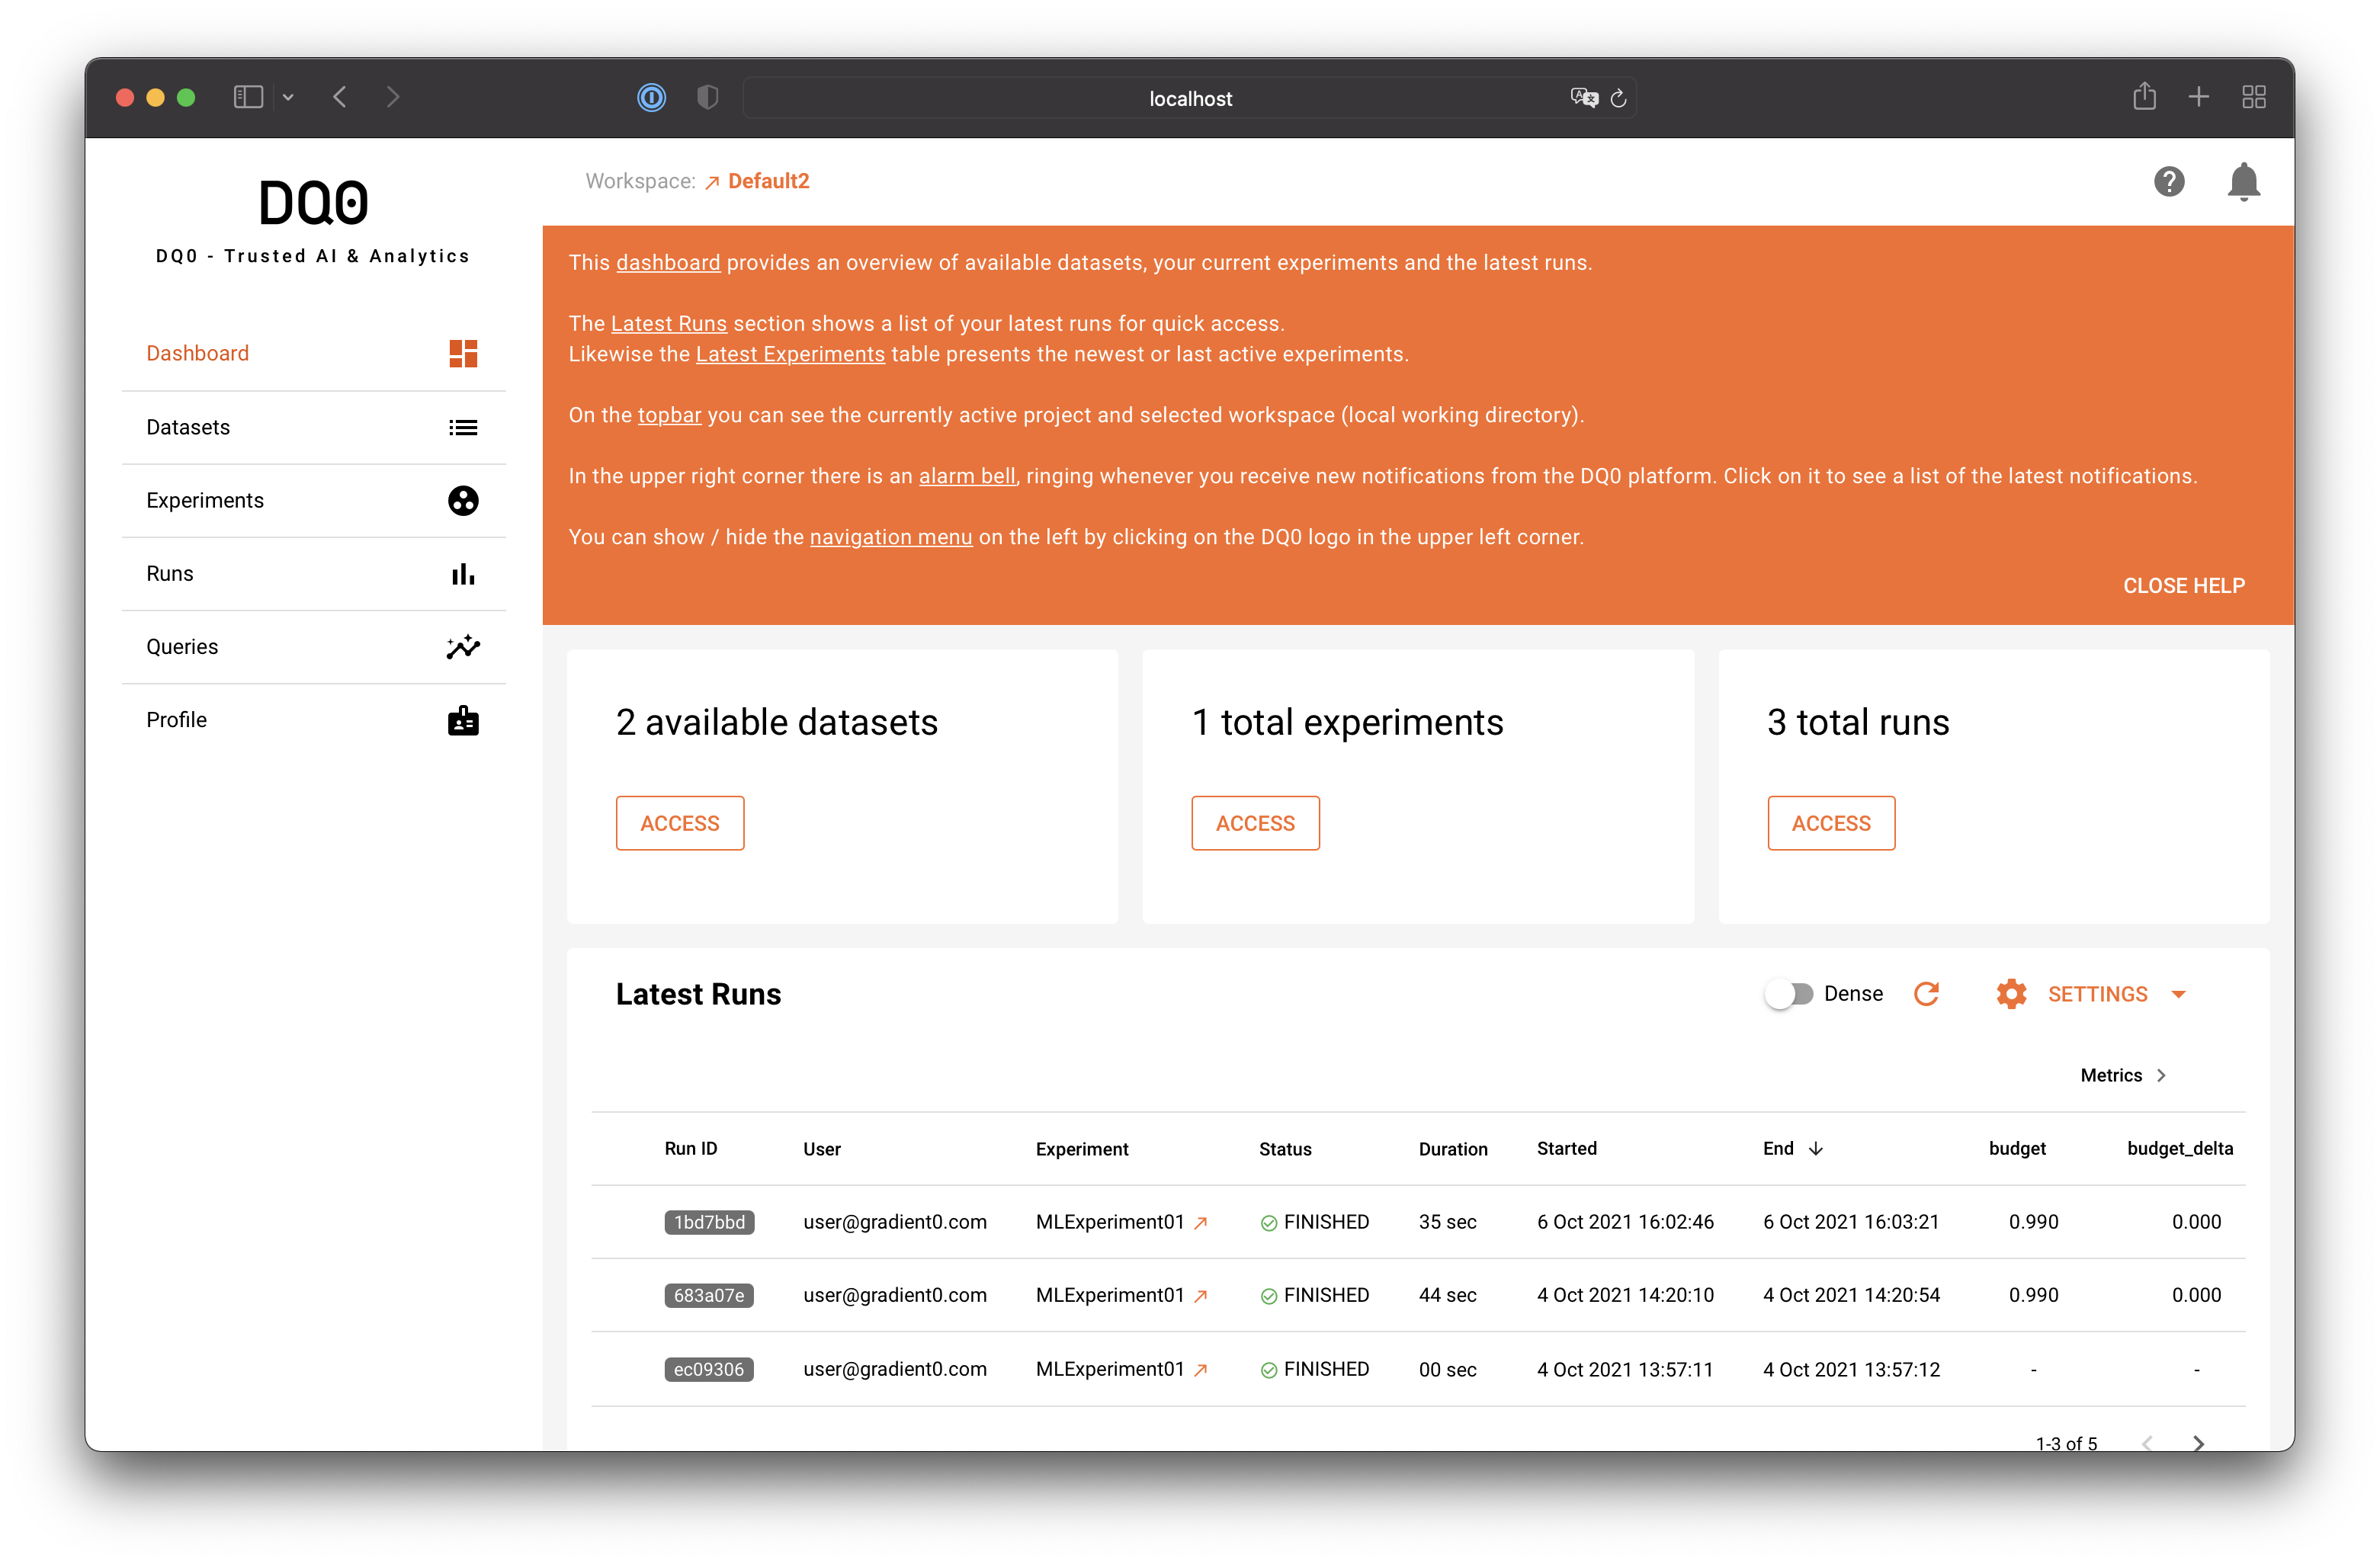
This help is context sensitive and will present information for the currently active page.
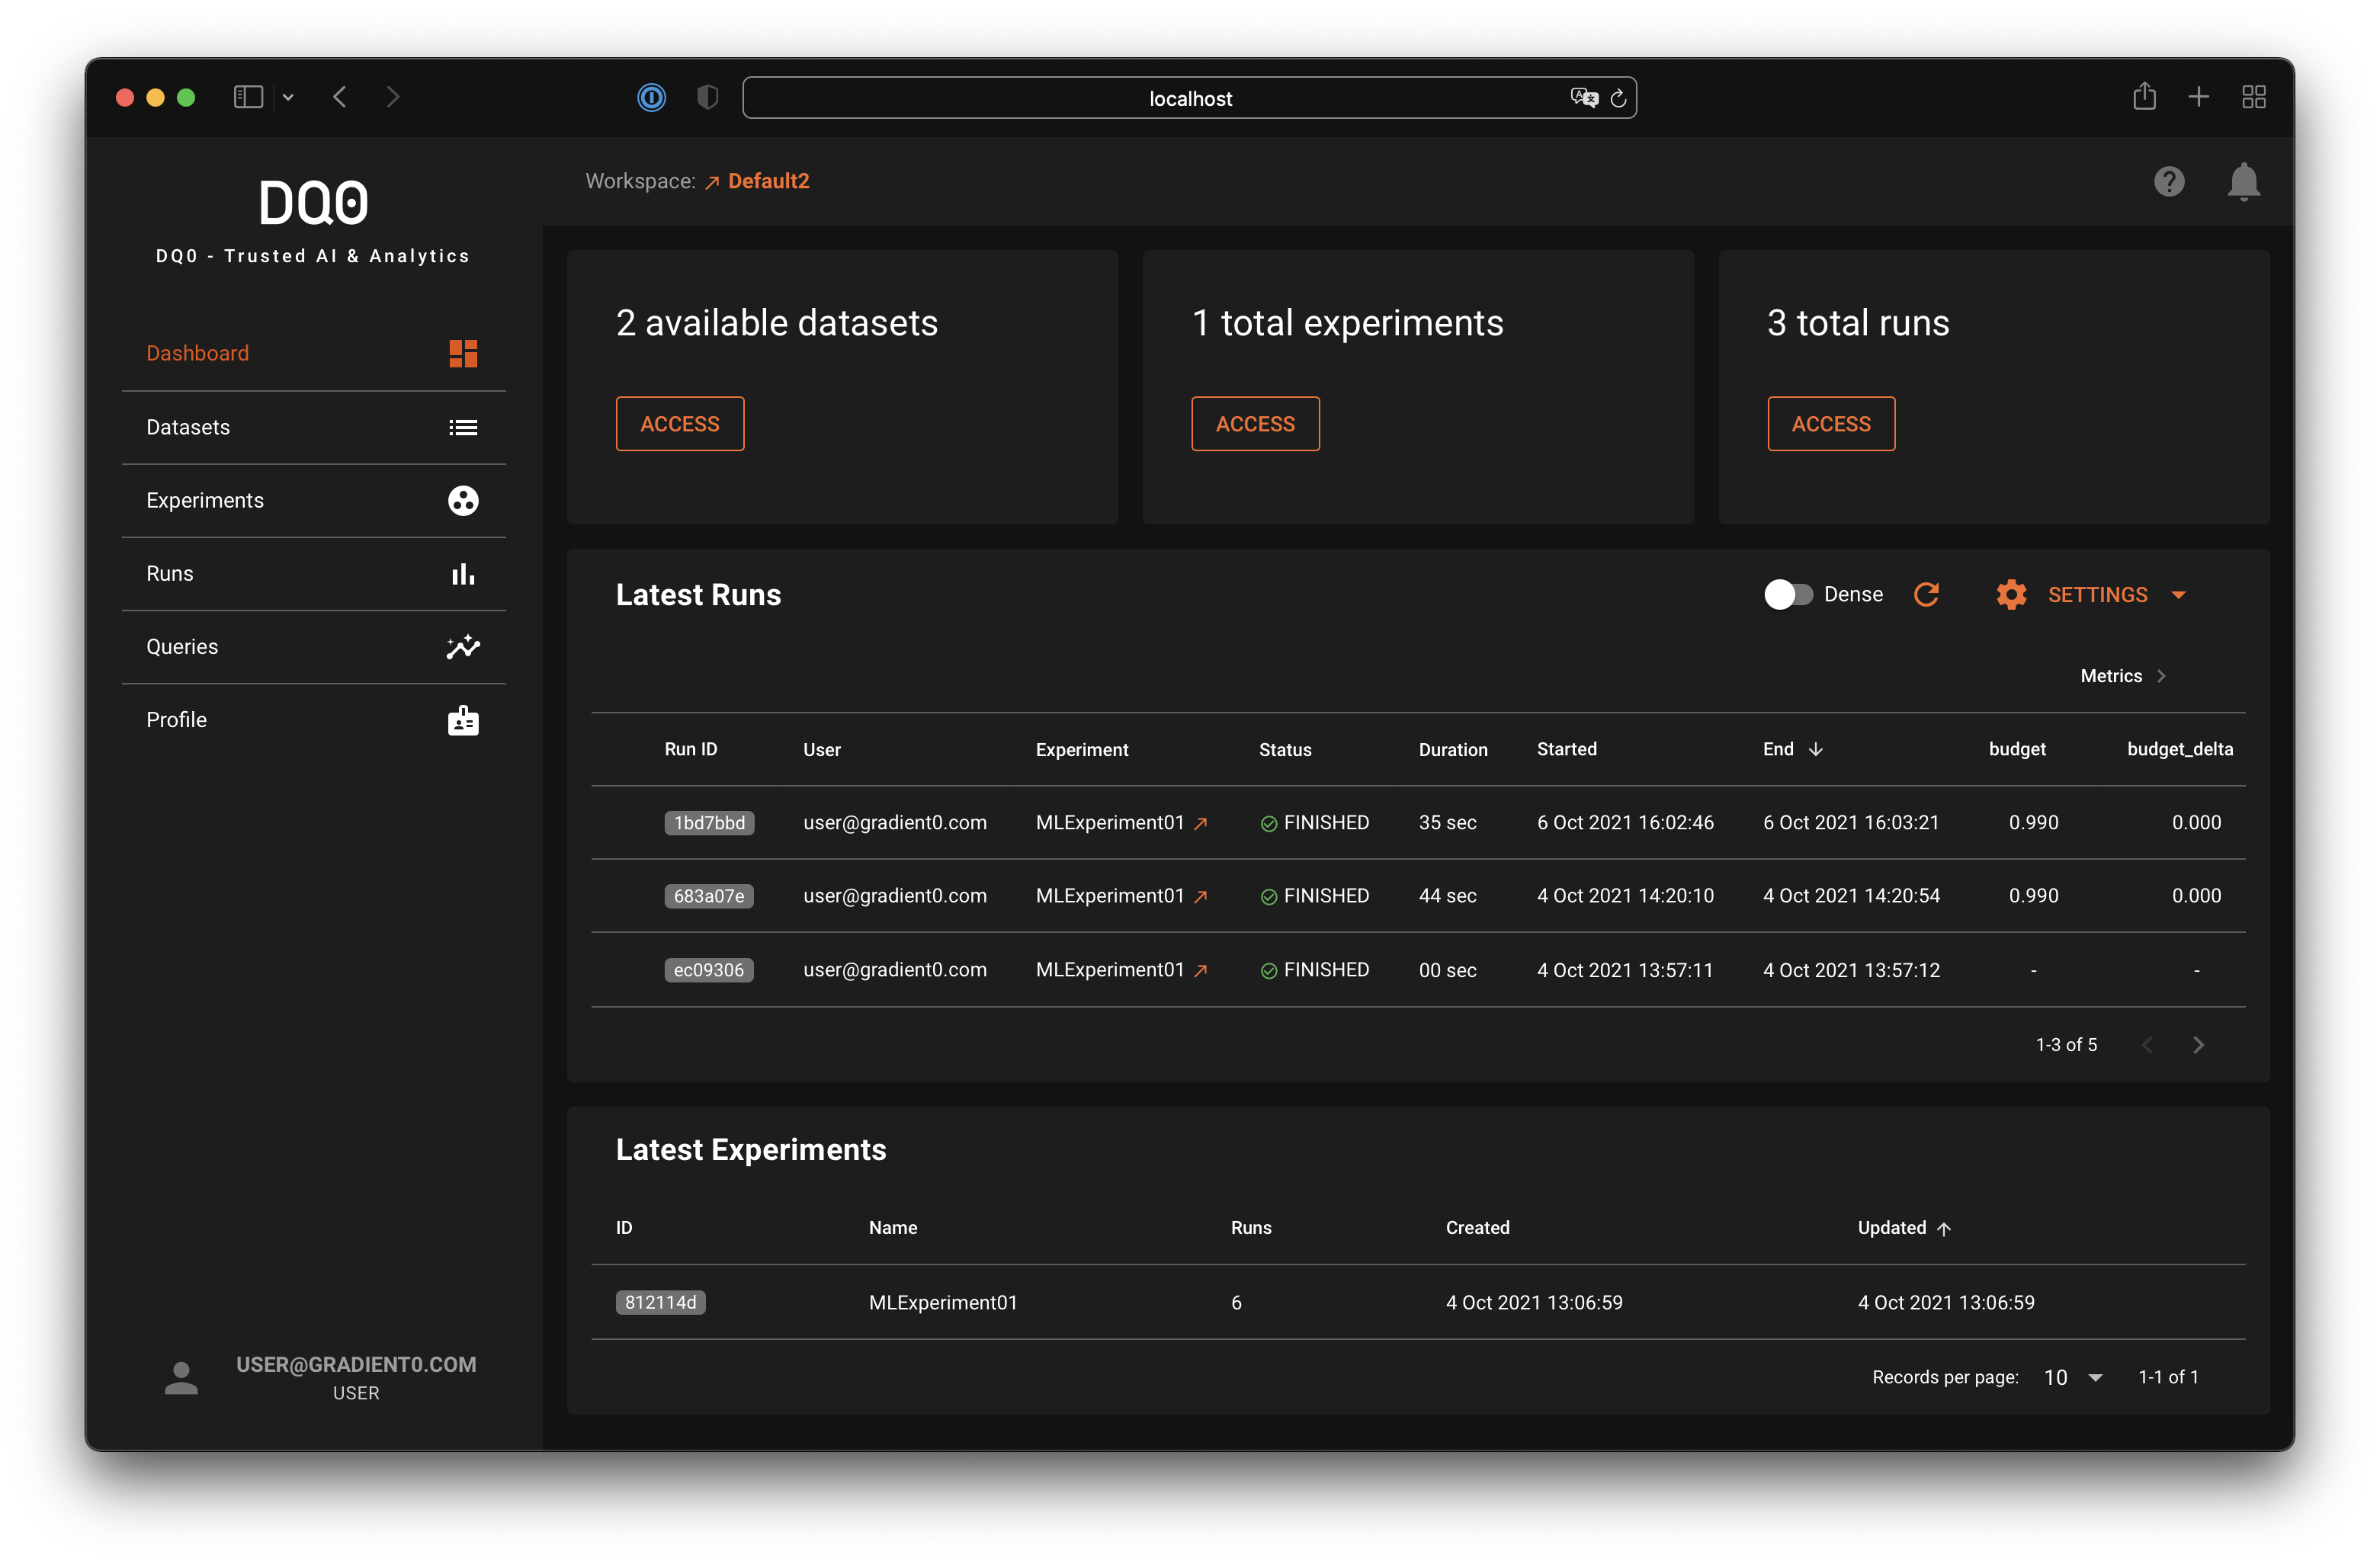
You can toggle between a white and dark mode for the dashboard in the profile section:
Navigation
On the left side of the Studi0 you will find the navigation items.
Data Science User Navigation
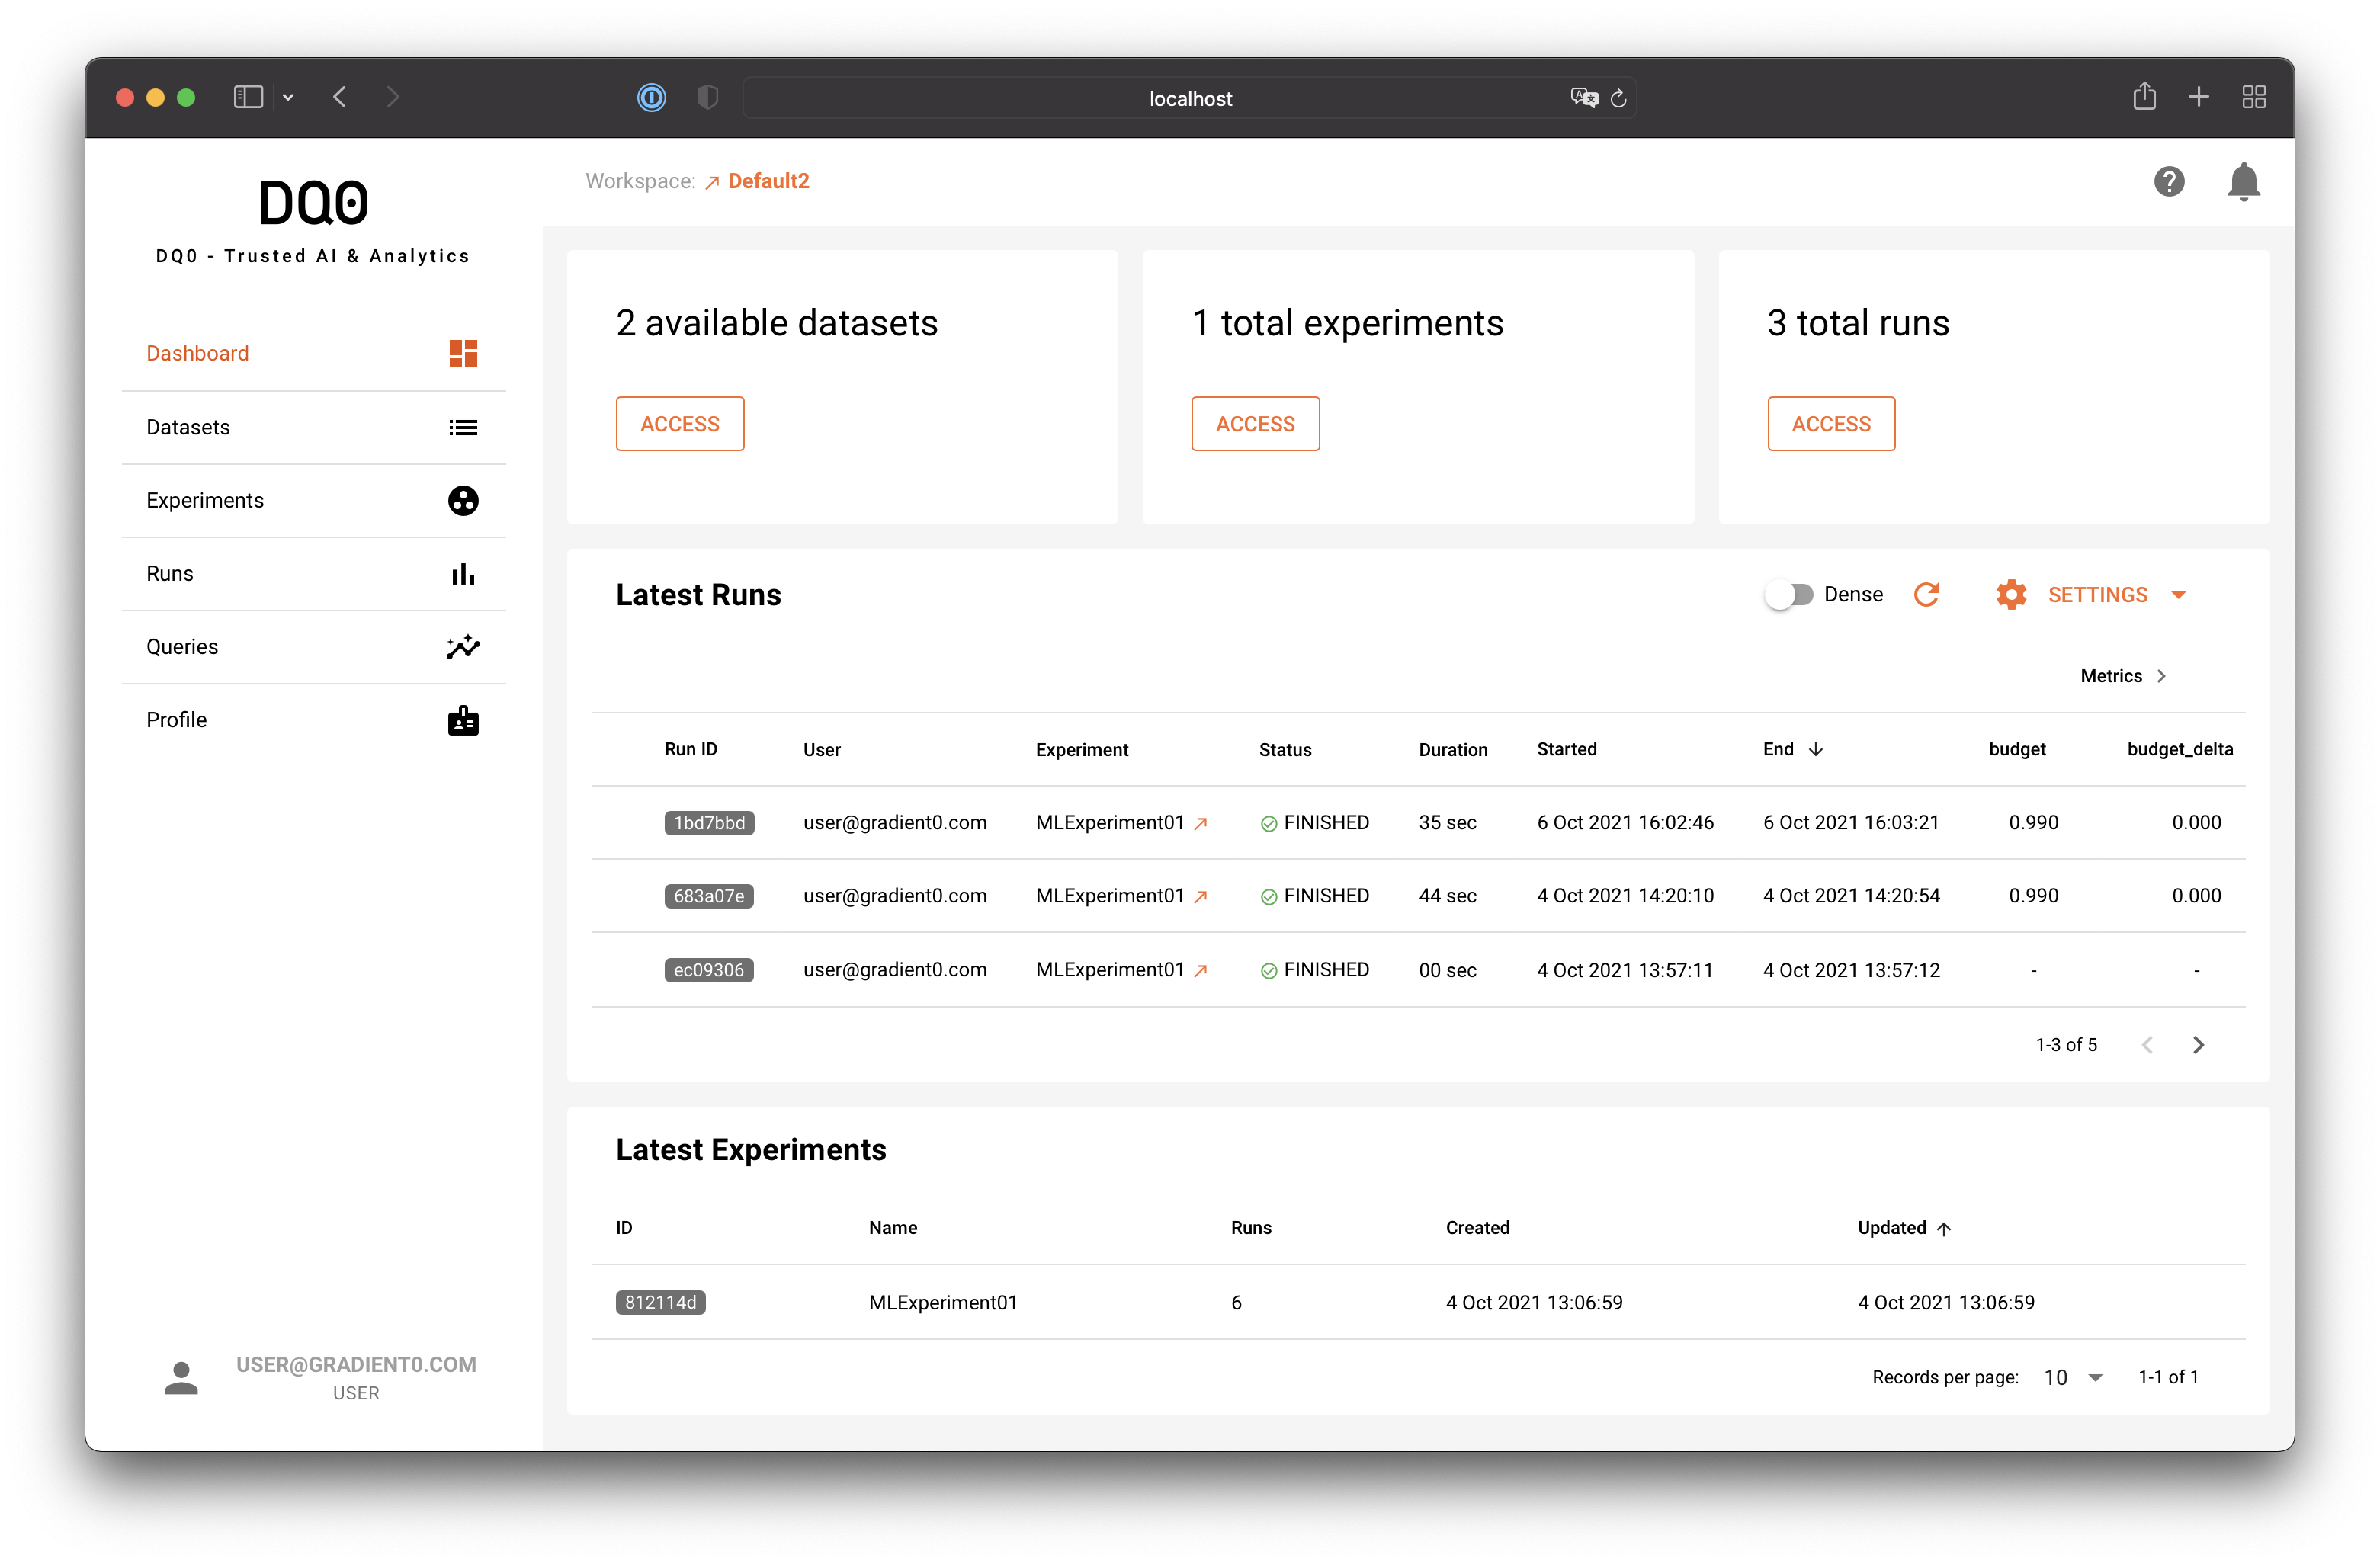
You can hide and show the navigation drawer by clicking on the "DQ0" logo at the top left.
Navigation items are:
- Workspace (on top)
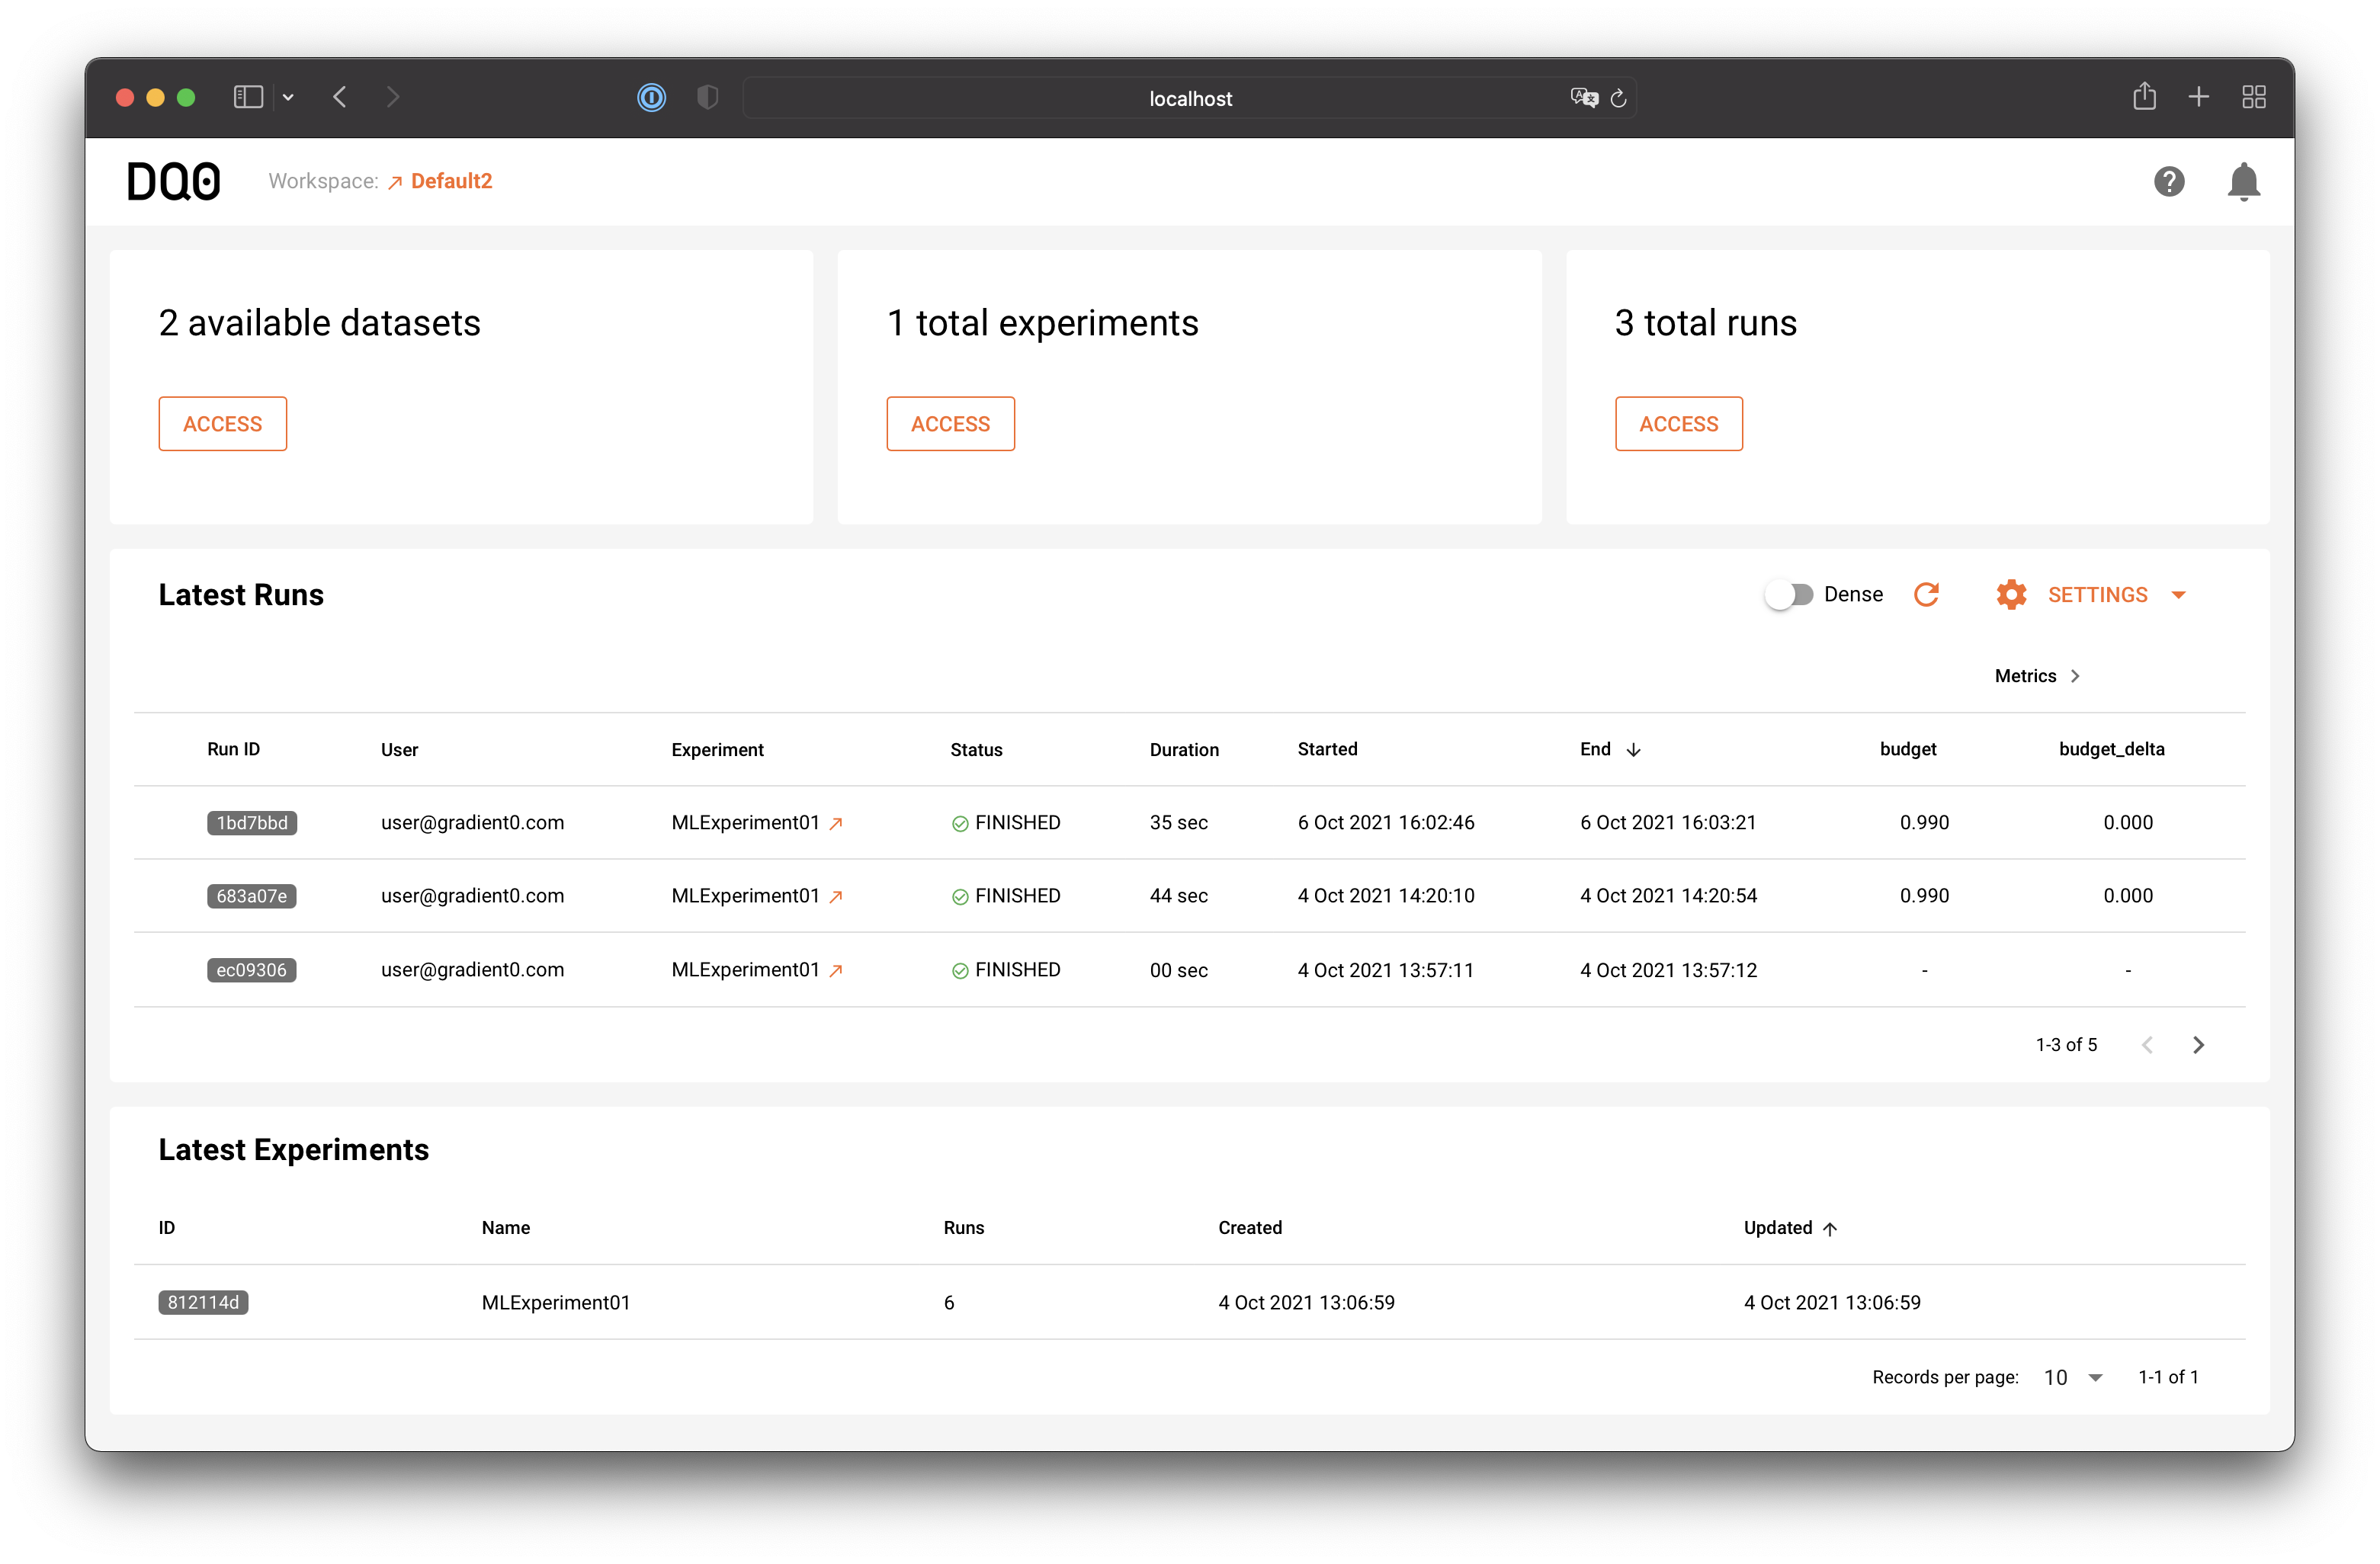
- Dashboard
- Datasets
- Experiments
- Runs
- Queries
- Profile
Data Owner User Navigation
On the left side of the Studi0 you will find the navigation items.
You can hide and show the navigation drawer by clicking on the "DQ0" logo at the top left.
Navigation items are:
- Workspace (on top)
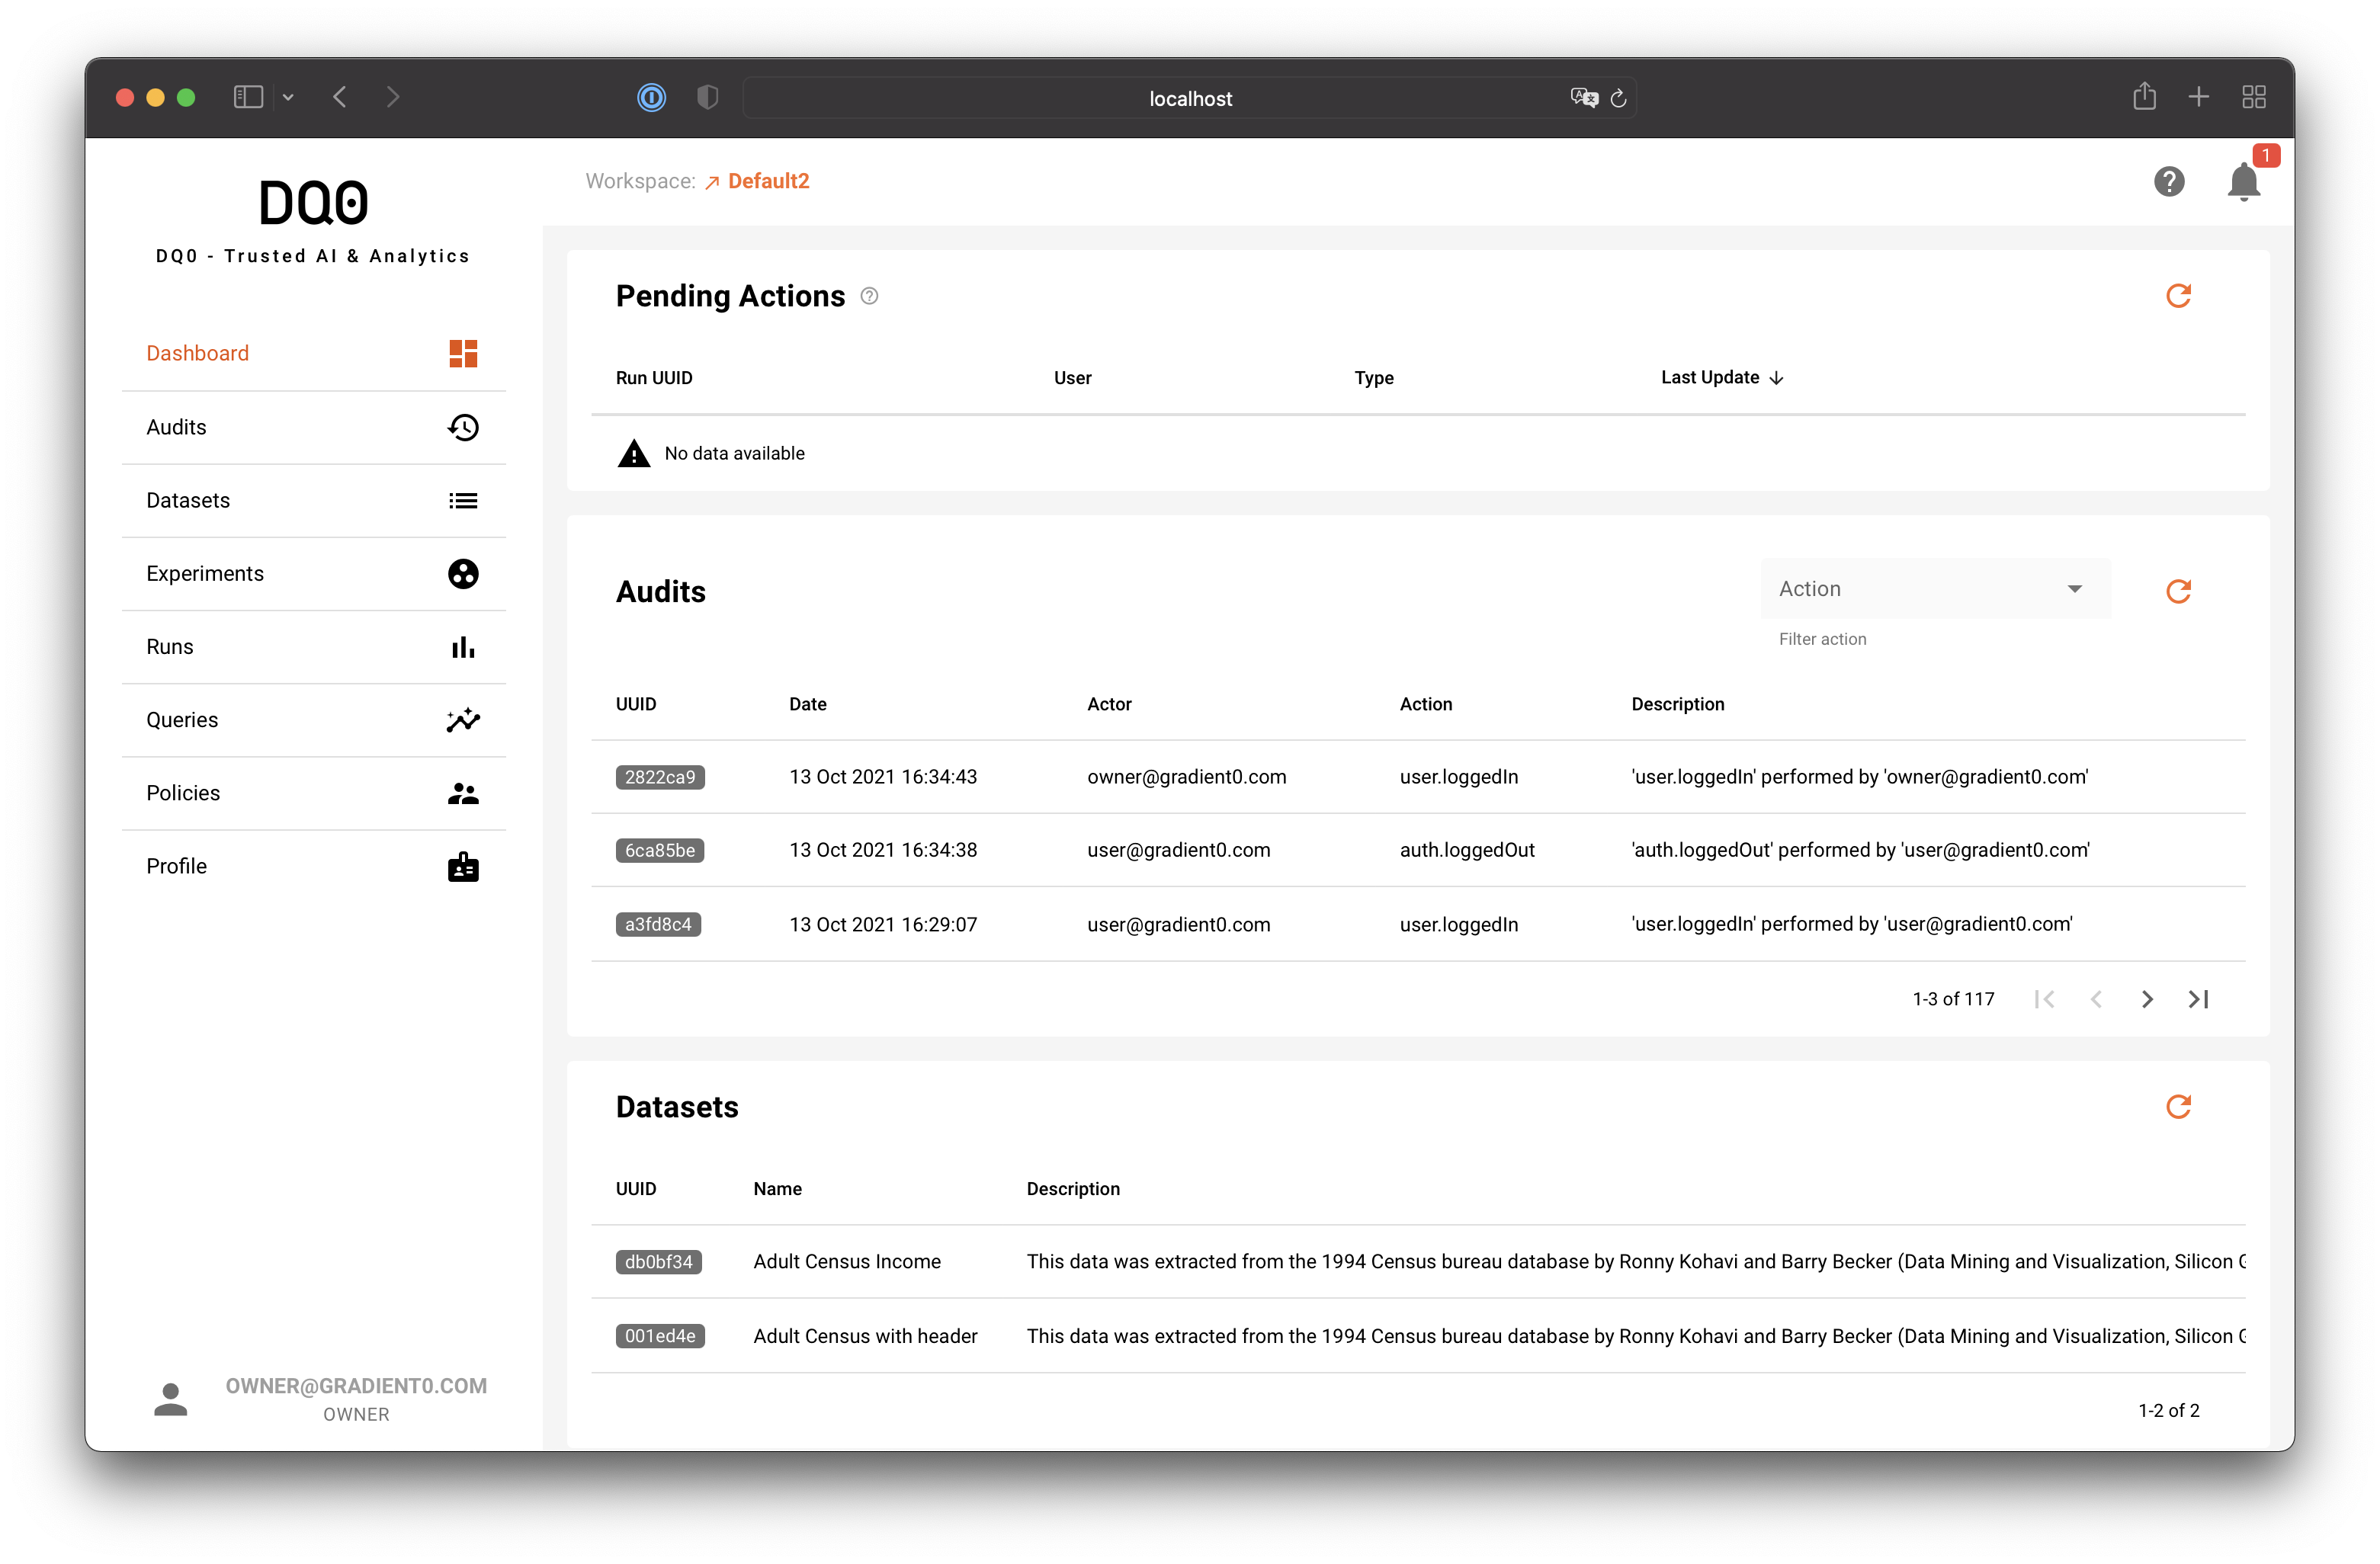
- Dashboard
- Audits
- Datasets
- Experiments
- Runs
- Queries
- Policies
- Profile
Workspace
A workspace is your local root folder for all your DQ0 related stuff. Select a local directory to server as your root workspace folder. You can change this selection anytime.
Note that the project content like code, scripts etc. are usually managed by external version control systems. The code will be deployed, i.e. synced, with the DQ0 instance whenever you execute analysis runs (model trainings etc.)
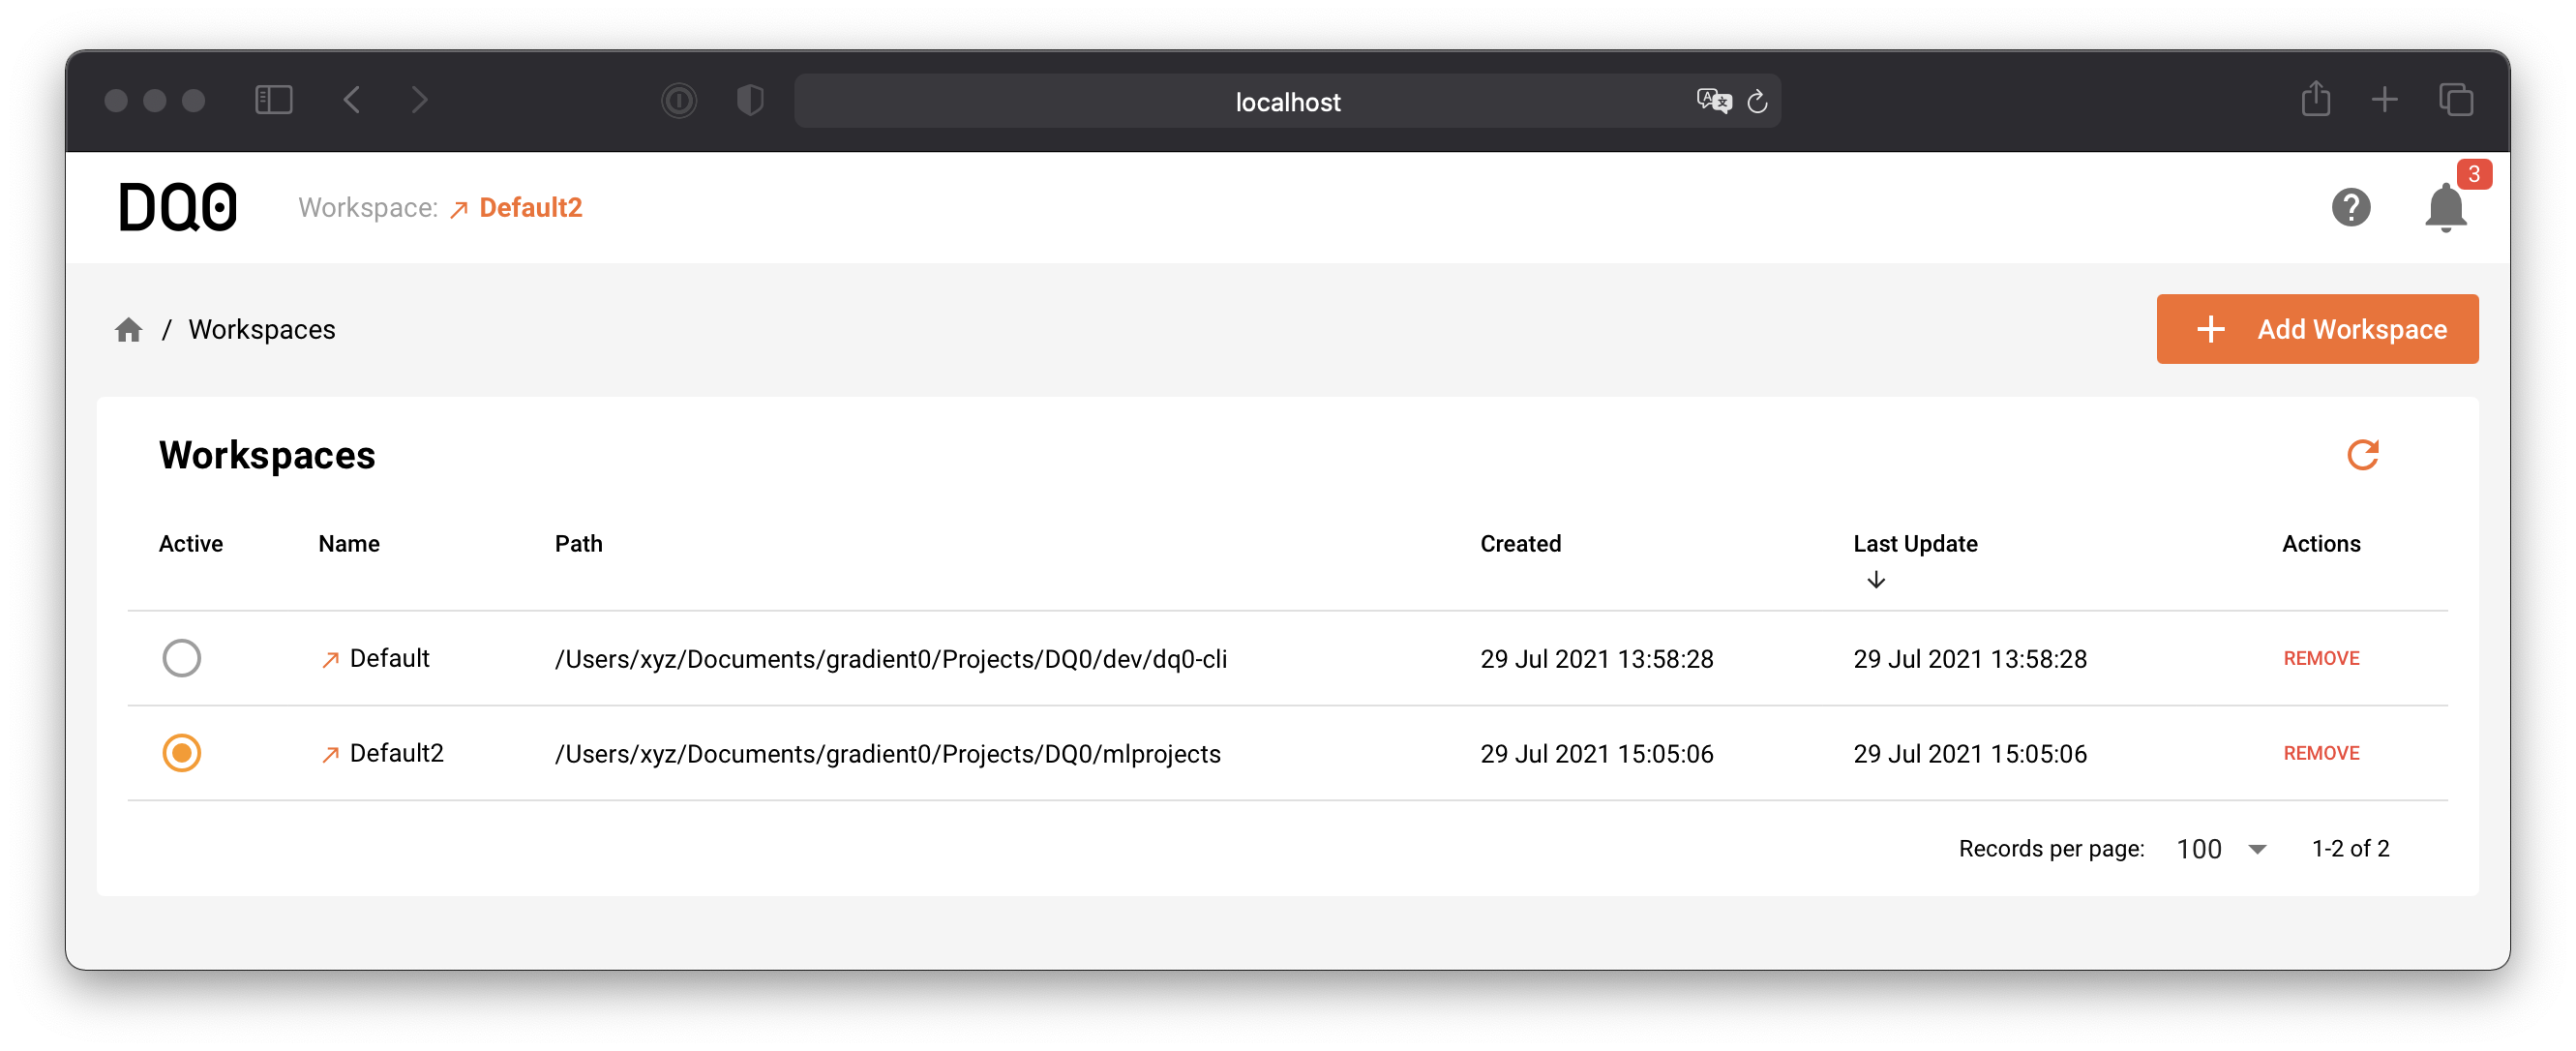
Workspaces overview:
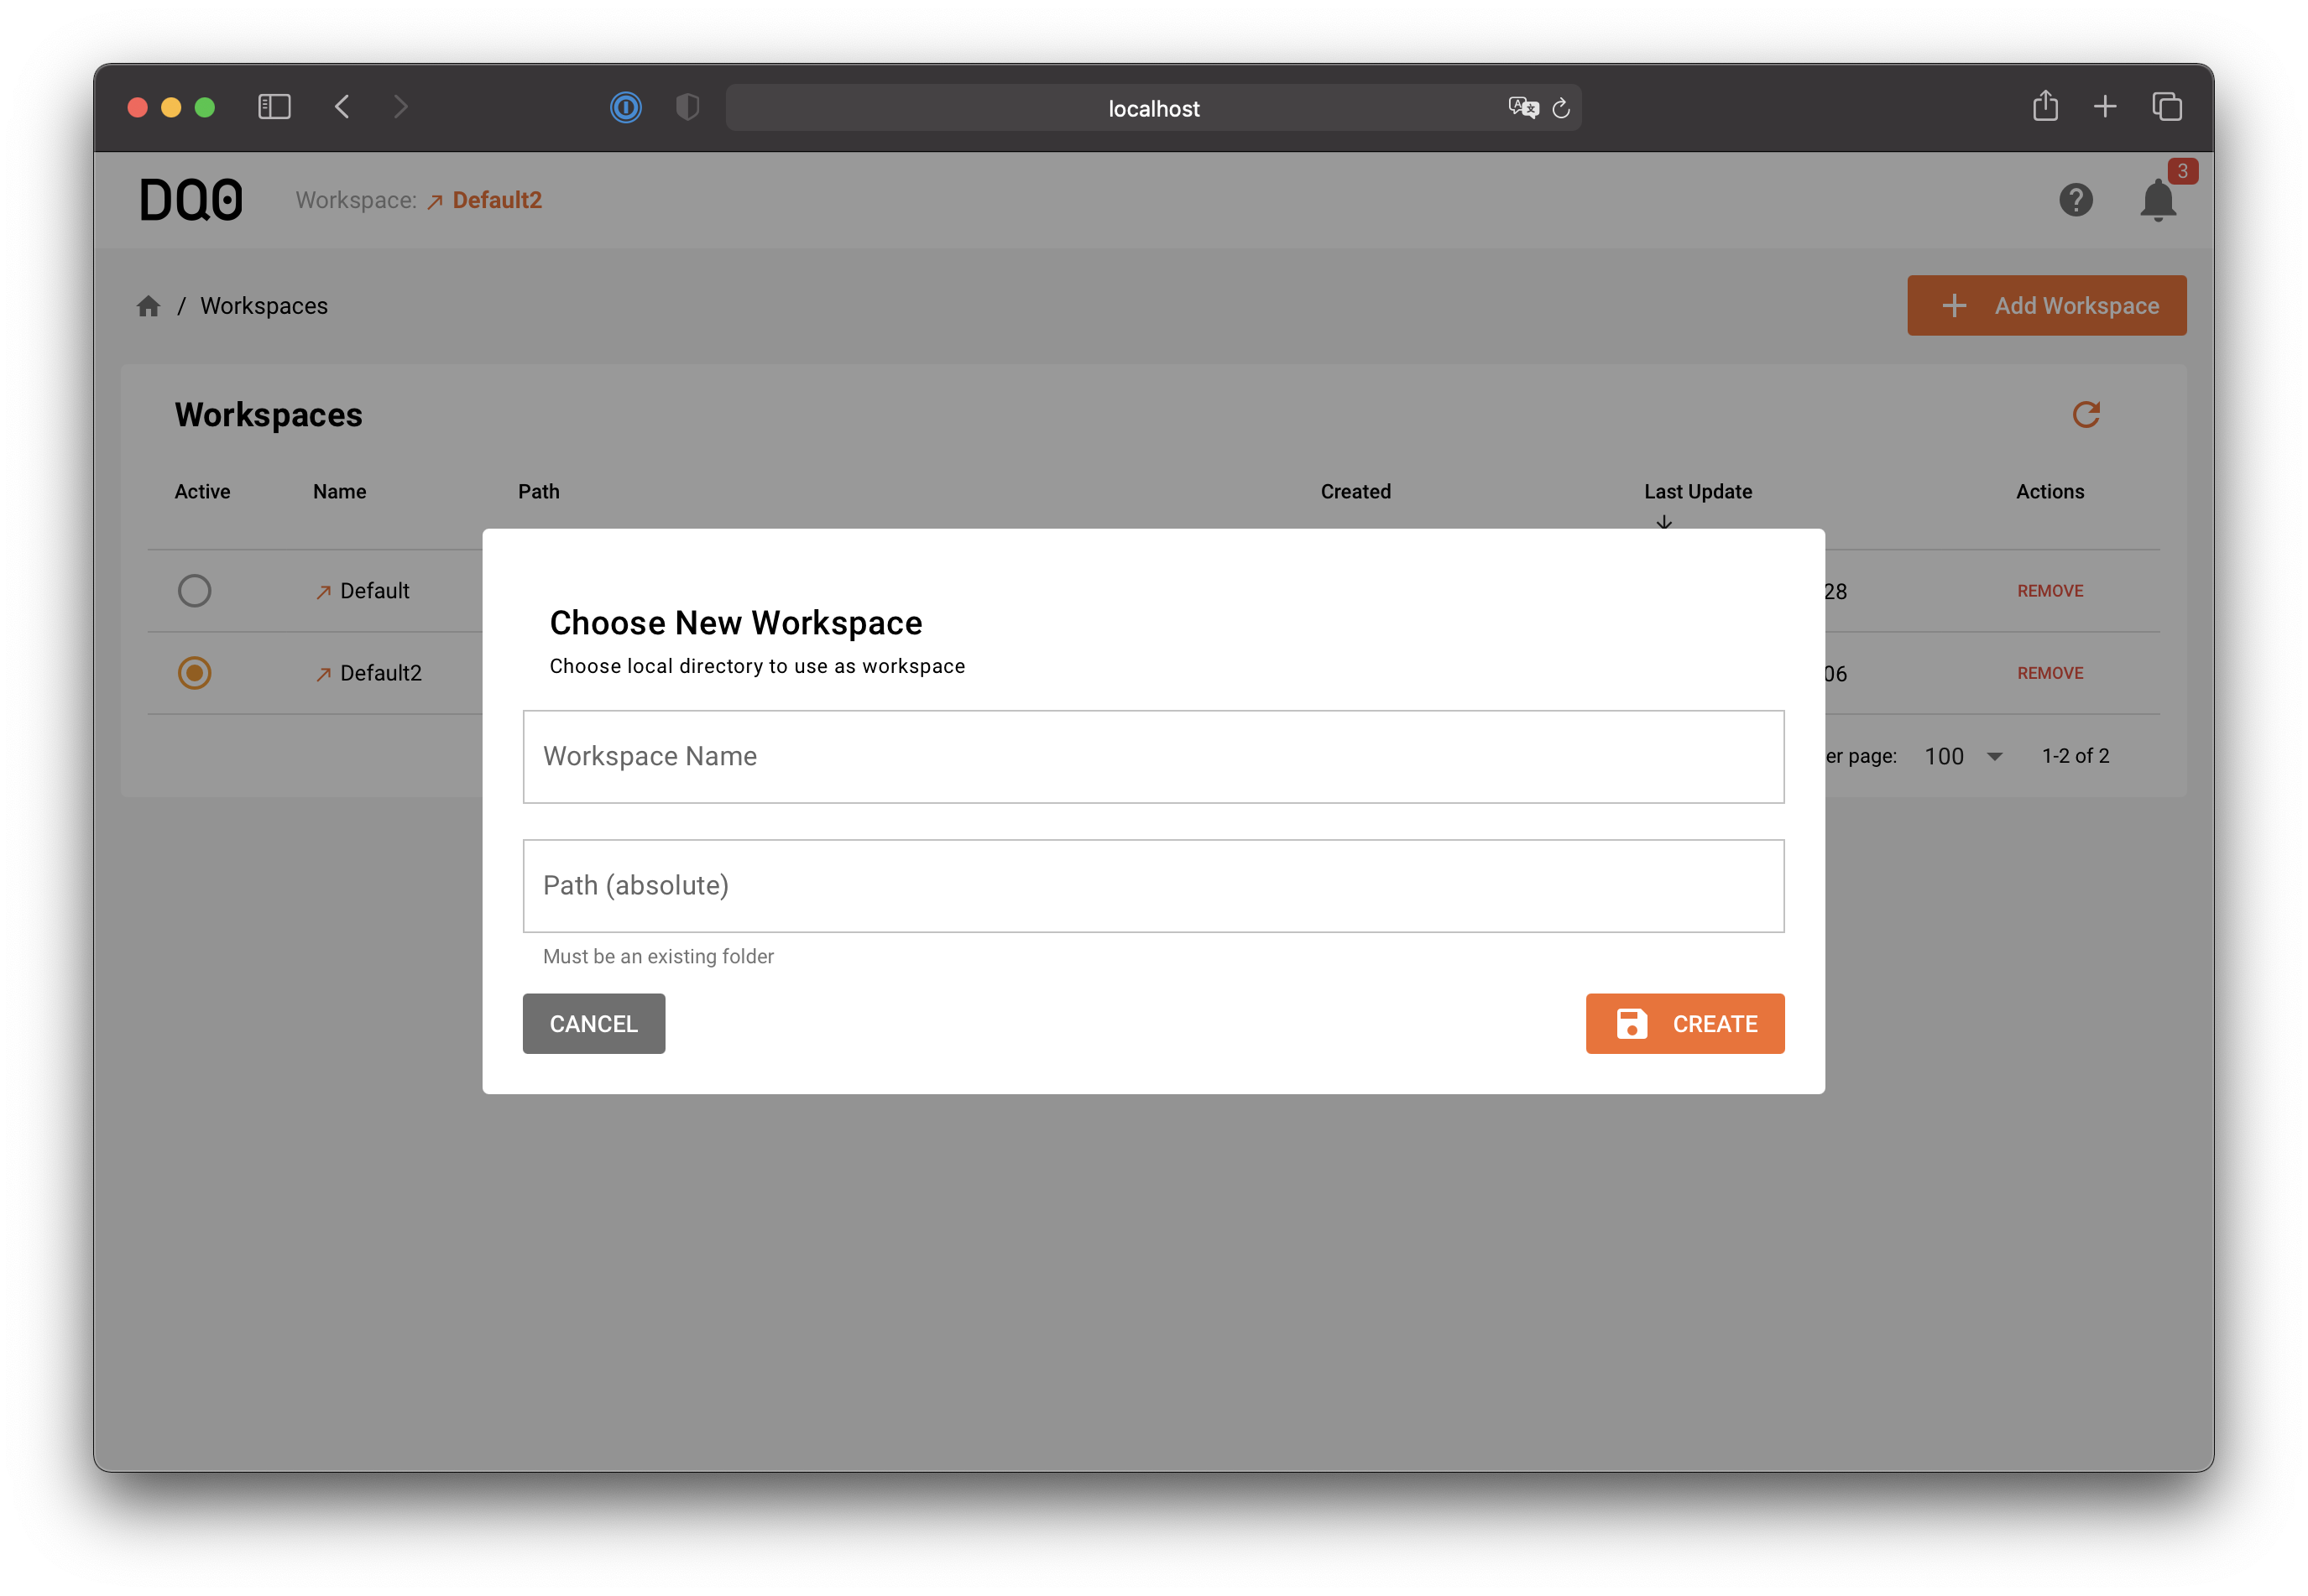
To create a new workspace click the "+ Add Workspace Button" and provide the name and root folder details in this dialog:
Click on a workspace in the workspaces overview or on the workspace name in the dashboard's topbar to navigate to the workspace file explorer:
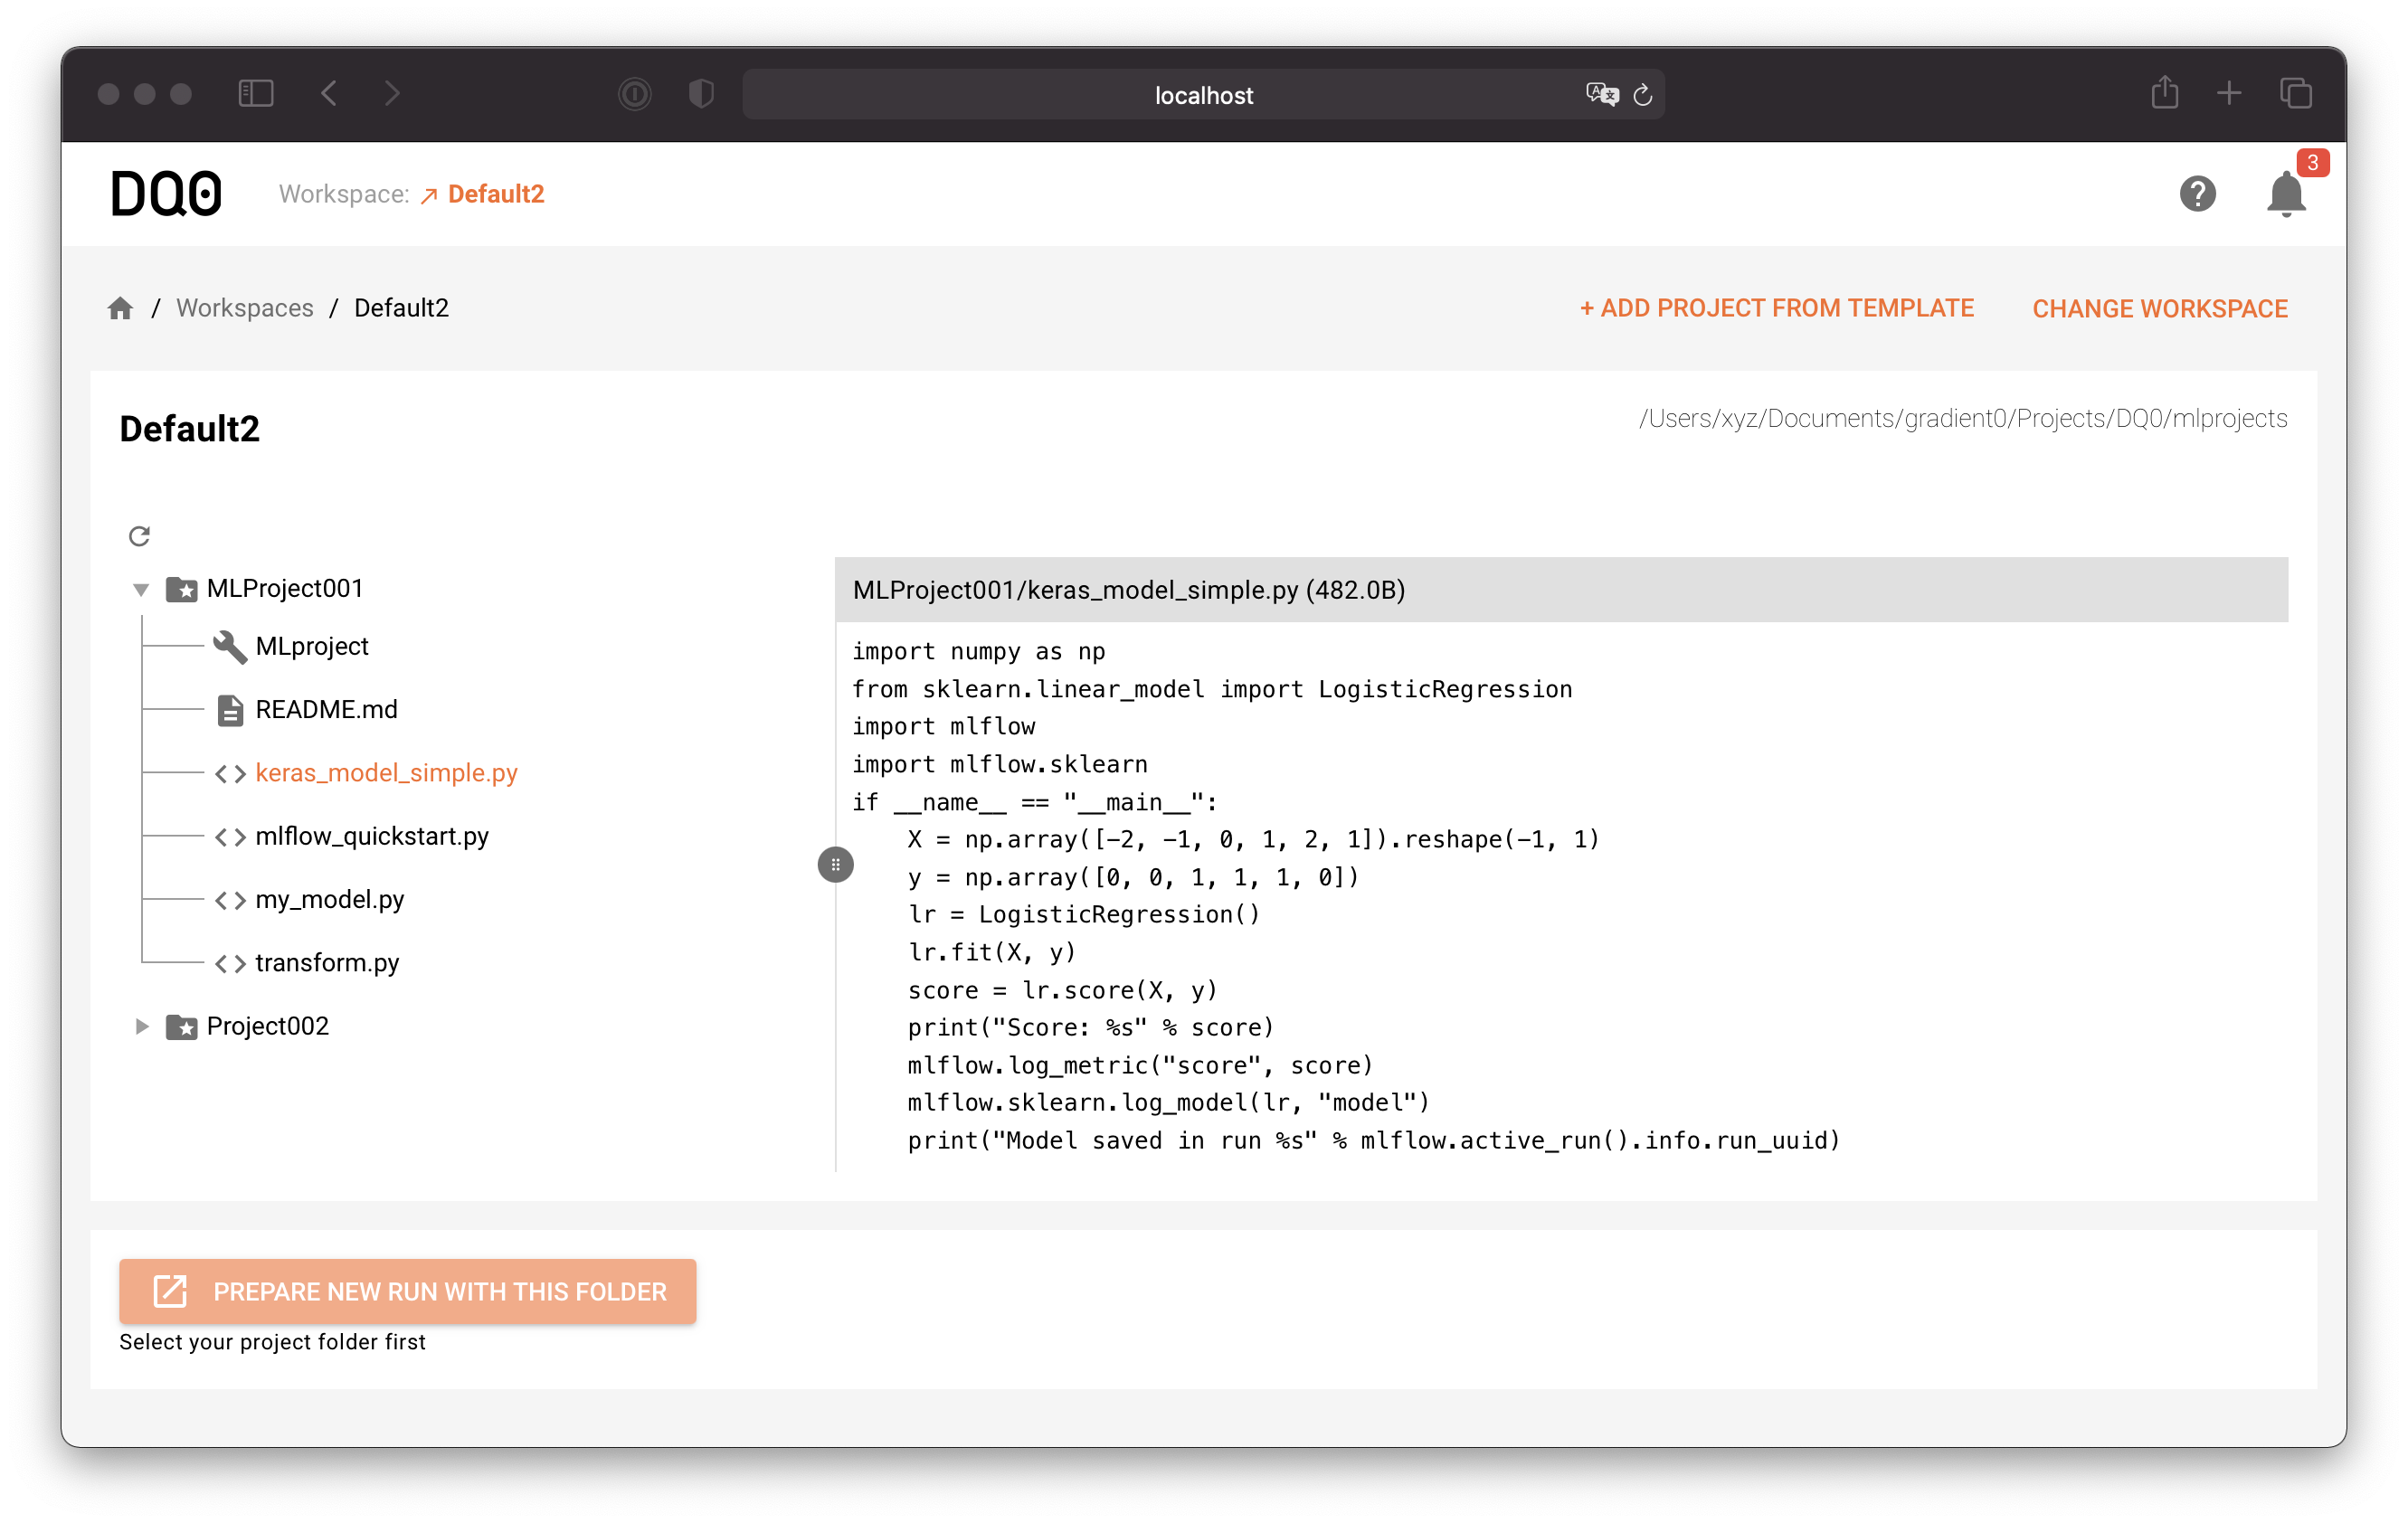
Use the file explorer to navigate through your local project files. Create run templates manually or with the "Project from Template" helper as described in Runs & Experiments.